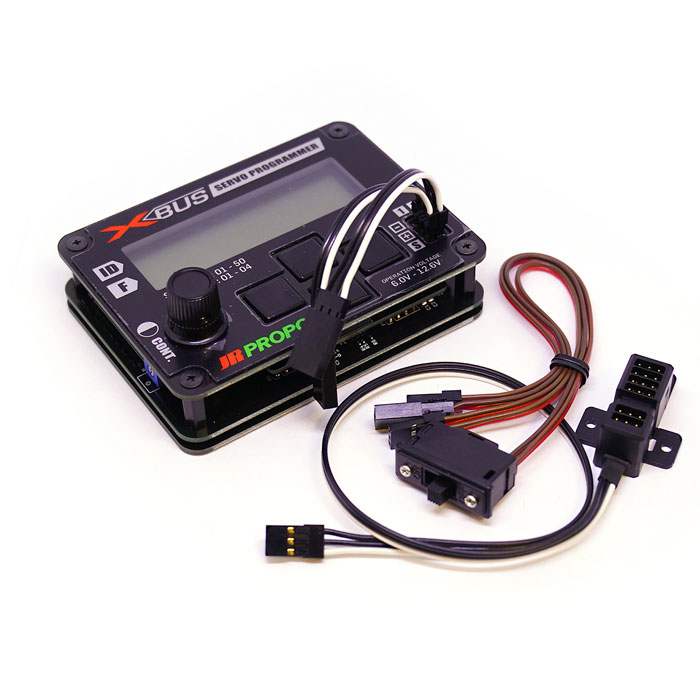
Xbus servo prgrammer
€139,00
Introducing 2K servo programmer with servo synchronization, can synchronize up to 4 servos.
** To operate synchronization, the operation system has to be Xbus only and the servos need to be JR 2K brushless servos only.
1) setting slave servo IDSet your slave servo with servo ID as follow:Slave servo 1: 50-1Slave servo 2: 49-1Slave servo 3: 48-1
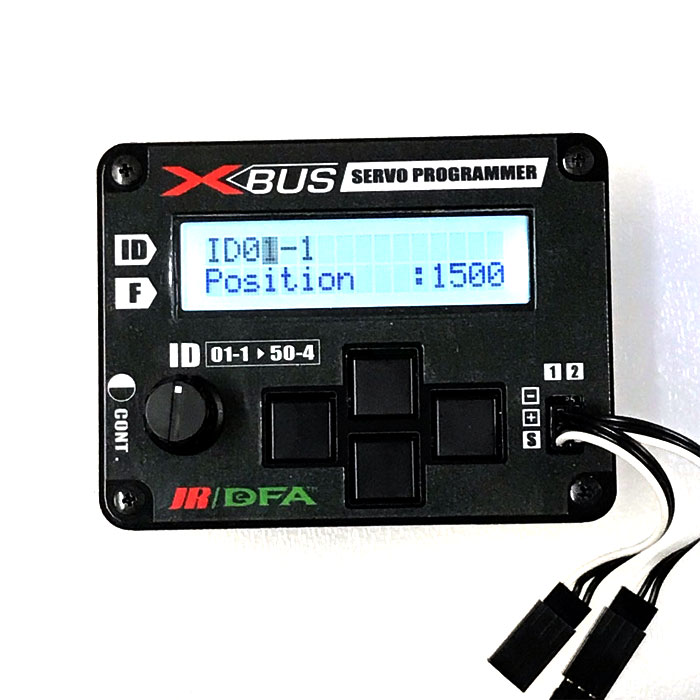
2) plug in only master servo then set servo ID according to your layout.For example, default right aileron channel number is ch2, so set the servo ID to 2-1
3) scan your master servo to be make sure it shows designated channel ID. Then plug in slave servo(s) to the hub
4) select synchronization, then hit button.
5) move the surface to the highest point then hit enter button
6) move the surface to the lowest point then hit enter buttonMake sure all the linkages, ball links, servo arms move freely and smoothly. Please do not set end points all the way. Above may result damaging your servos or wing linkages or etc. linkages must move freely mechanically and angle wise, you need to check before starting synchronization.
7) when you see start, then hit the enter button. It takes about 10 min to 20 min to complete.
8) slave servo(s) automatically change their ID number. In above case, 50-1 becomes 2-2, 49-1 to 2-3, 48-1 to 2-4
Basically these slave servos copy the master servo’s input data. You may want to set master servo gains before operate synchronization.If you failed or want to synchronize again, plug in slave servo to the hub,Scan again,Then hit top button three times, then it will show you the line said to clear, then hit right button to clear the memory of the slave servo.Then do all again from 1)You can synchronize ailerons, elevators and rudders.Helicopter awash servos can be synchronized by using a board with ball links.There are 120 points matching between the end points. Theoretically, no fighting points gives you fast reflection of to your que, less battery consumption, and more servo life expectancy.